Are you experiencing controller drift on your Xbox Series X? This can be a frustrating issue but don’t worry, and it’s a common problem that can be easily fixed. In this article, we’ll go over a step-by-step guide on how to fix controller drift on your Xbox Series X.
First things first, let’s define what controller drift is. Essentially, controller drift is when the joystick on your controller moves on its own, even when you’re not touching it. This can make it difficult to control your characters or vehicles in-game and can be a real nuisance. Now, before you go out and buy a new controller, try these steps to fix the issue.
How to fix Controller Drift Xbox Series X?
Step 1: Update your controller
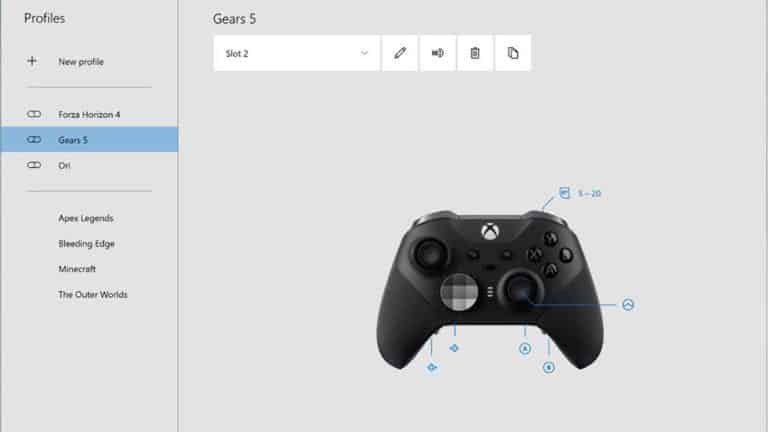
The best and easiest solution is to update your controller’s firmware. You can do this quickly and easily with the Xbox itself or by using a PC with the Xbox Accessories app. If you don’t have the app yet, don’t worry, you can download it for free from the Microsoft Store. Trust me, updating your controller’s firmware to the latest version can solve the drift issue and have you gaming like a pro again. Don’t forget to restart your controller after updating it for optimal performance. Give it a try, and you won’t regret it!

Step 2: Clean Your Controller
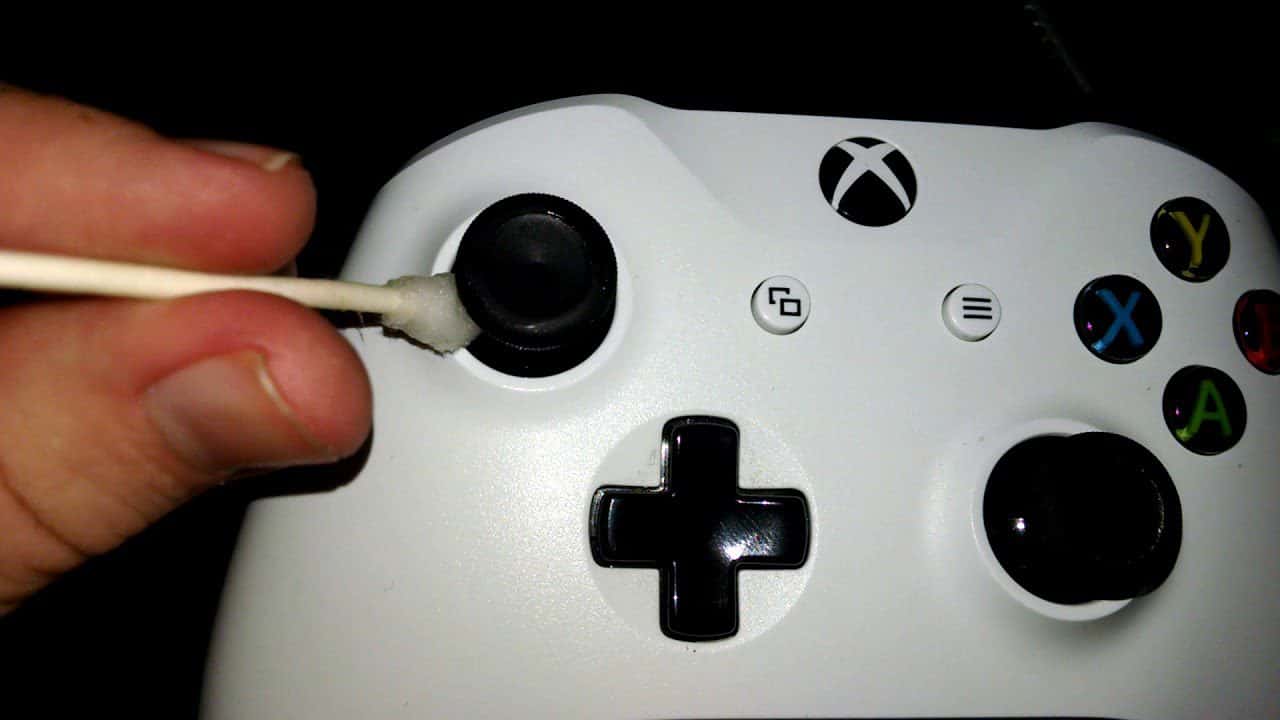
The first step in fixing controller drift is to clean your controller. Dust and debris can accumulate on the joystick, causing it to move on its own. To clean your controller, you’ll need a small brush, a can of compressed air, and a microfiber cloth.
First, use the small brush to remove any debris from around the joystick. Next, use the can of compressed air to blow out any dust or debris that may be stuck in the joystick. Finally, use the microfiber cloth to wipe down the controller, making sure to get into all the crevices and around the joystick.

Step 3: Calibrate Your Controller
Once your controller is clean, the next step is to calibrate it. This is a simple process that can be done through the settings on your Xbox Series X.
To calibrate your controller, go to the settings menu on your Xbox Series X, and then select “Devices and Accessories.” Next, select your controller and then select “Calibrate.” Follow the prompts on the screen to calibrate your controller.
Step 4: Update Your Controller’s Firmware
If your controller is still experiencing drift after cleaning and calibrating, the next step is to update the firmware. Firmware updates can address any bugs or glitches that may be causing the drift.
To update your controller’s firmware, go to the settings menu on your Xbox Series X, and then select “Devices and Accessories.” Next, select your controller and then select “Device Info.” If there is an update available, it will be listed here. Follow the prompts to update your controller’s firmware.
Step 5: Check for Hardware Issues

If your controller is still experiencing drift after cleaning, calibrating, and updating the firmware, there may be a hardware issue.
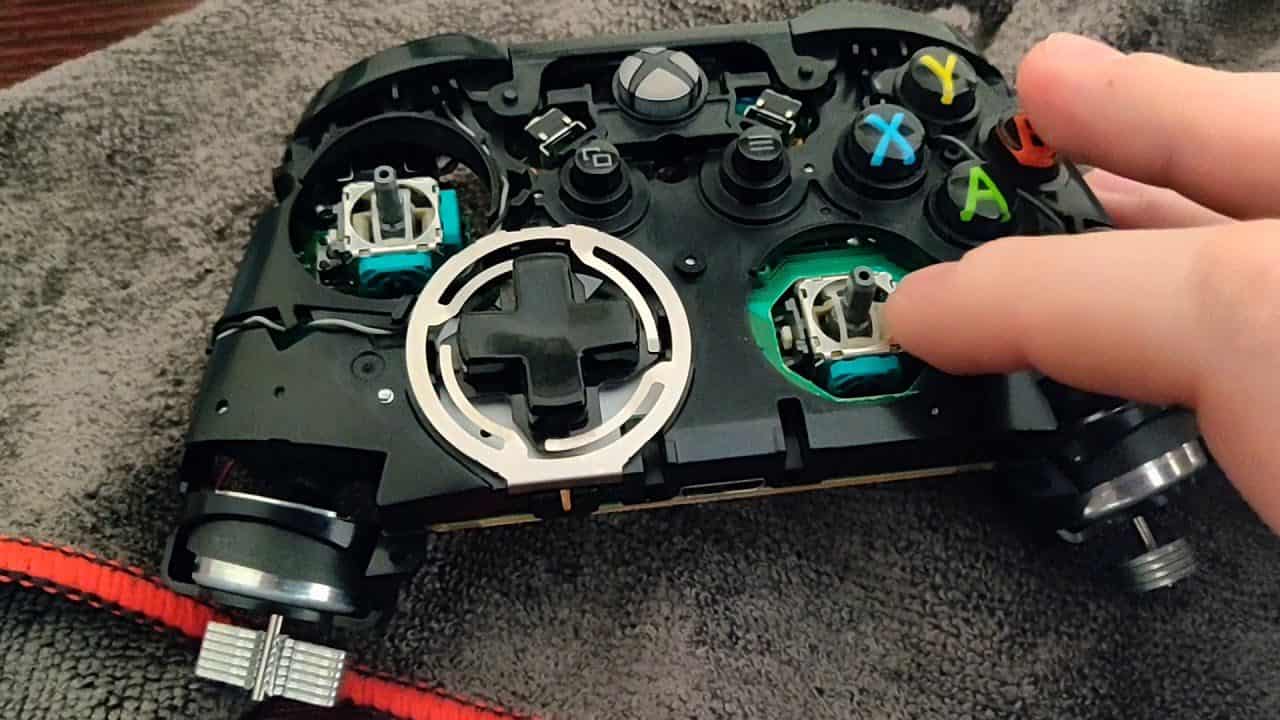
One common hardware issue that can cause drift is a loose joystick. To check for this, gently move the joystick around to see if it feels loose or if it moves on its own. If it does, you’ll need to take your controller to a professional to have it repaired.
Another hardware issue that can cause drift is a malfunctioning joystick sensor. This is a more serious issue and will require professional repair.
Step 6: Try a Different Controller
If none of the above steps has fixed the drift issue, your controller may be simply malfunctioning. In this case, the best solution is to try a different controller.
If you have another controller, try using it to see if the drift issue persists. If it does, then the problem is likely with your Xbox Series X and you’ll need to contact customer support for further assistance.
In conclusion, controller drift can be a frustrating issue, but it can be easily fixed. By following the steps outlined in this article, you can fix controller drift on your Xbox Series X and get back to gaming in no time. Cleaning, calibrating, updating the firmware, and


