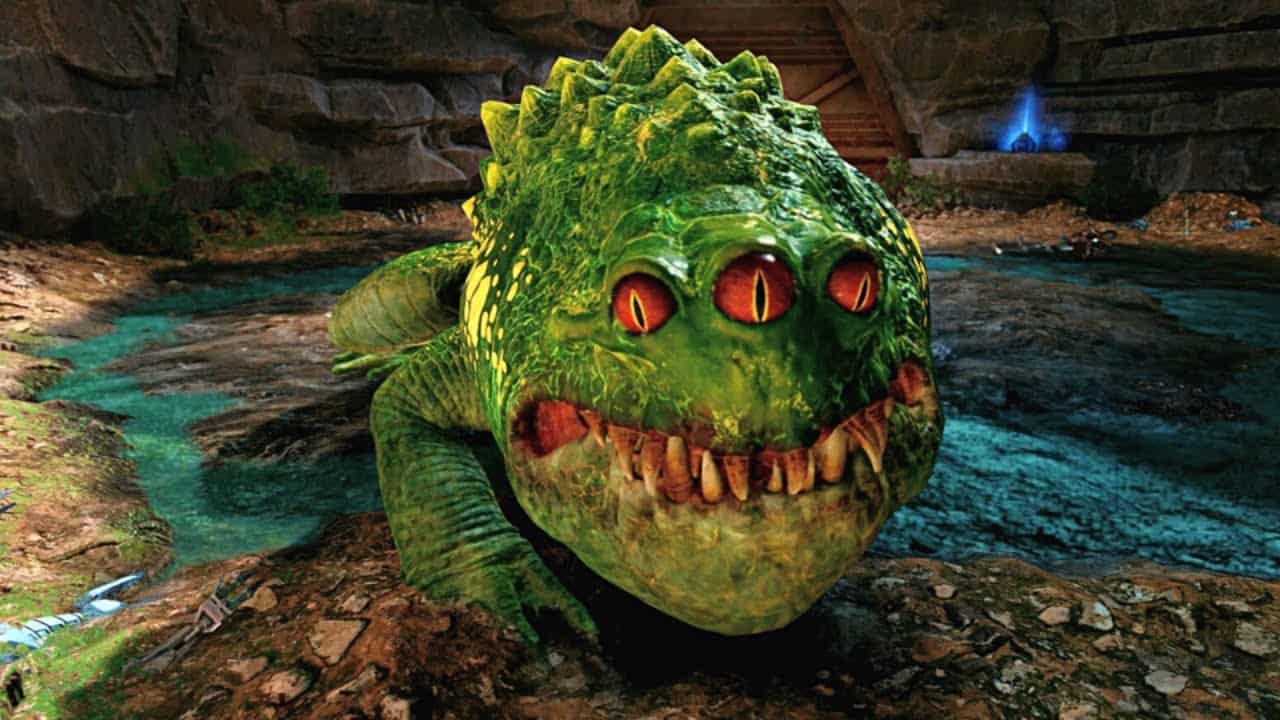
In Star Wars Jedi: Survivor, one of the most dreaded bosses from Star Wars Jedi: Fallen Order makes a brutal comeback. You can attempt to defeat the optional boss Spawn of Oggdo in Star Wars Jedi: Survivor to receive some unique rewards. The boss is challenging and even possesses an attack that results in a one-shot death.
Since The Spawn of Oggdo is a very challenging Legendary Boss, we advise you to delay dealing with it until perhaps your second or third return to Koboh. A three-eyed being from Star Wars Jedi: Fallen Order was in the Spawn of Oggdo.
You had to defeat Oggdo on Bogano in that game by dodging their sticky tongues and overcoming their lightsaber-resistant skin. Even more powerful and appear to be descended from the Oggdo species is Spawn of Oggdo.
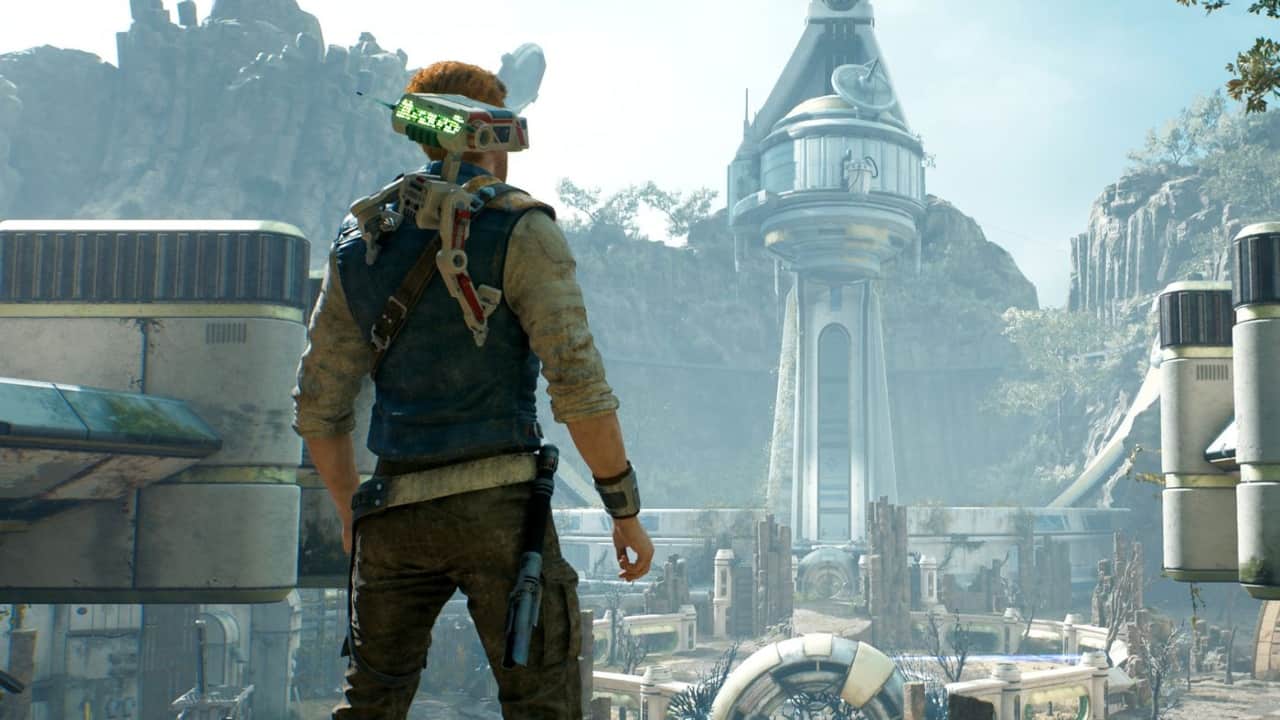
We’re here to help you learn how to prevent his attacks. Even if you are trying to defeat the Spawn of Oggdo early on or later on in the game, this guide will help players in Star Wars Jedi Survivor defeat the legendary frog Spawn of Oggdo by providing information on its location, rewards, and other elements. We will present you with the phases of the fight, so make sure to look in detail.
Also Read: How to Beat King Hippo in Punch-Out? Explained
Where to find Spawn of Oggdo?
- When visiting Fort Kah’lin in Koboh, you can find the den of the Spawn of Oggdo. Find the grapple by the tower from the Meditation inside the Bedlam Raider’s territory.
- Take out the B1 Battle Droids inside the tower, then walk along the path, turning left twice until you come to a bridge that connects with a sizable open platform.
- It’s crucial that you defeat the B1 Battle Droids on this plate because you won’t want to get distracted when facing the Spawn of Oggdo. Instead, defeat the group of B1 Battle Droids in the vicinity of the large grey circular plate that’s located in the middle of the platform.
- Once the enemies are defeated, stand on the sizable circular trap door to fall into the den of the Spawn of Oggdo.
How to Beat Spawn of Oggdo?
1. Powerful Enough:
The first time you arrive at Fort Kah’lin and run into this boss, you might not be leveled enough to defeat it. You might find yourself in this fight by accident, and if so, you should be prepared to die and respawn at the Fort Kah’lin Meditation Point, so you can carry on your journey until you’re leveled up enough to take it on.
Before fighting Oggdo’s spawn, you should know Star Wars Jedi: Survivor stim canister locations. Additionally, you should check that your skill trees are leveled, especially for the stance you need to use in the war.
If you have the Dash jump, which will allow you to outwit the boss, it will be helpful. You should also get any perks that increase your health. Waiting until after your playthrough can help ensure you’re fully prepared to take this because you can find essences in the game that will increase your health bar.
2. Avoid the Tongue Attack:
The difficulty with the Spawn of Oggdo is that if it uses its tongue to grab and eat you, the beast can instantly kill you. It’s critical to prevent it from getting close enough to you to perform this action. The goal is to attack at the right moments when the beast is still, then Dash, and prevent yourself from his attack.
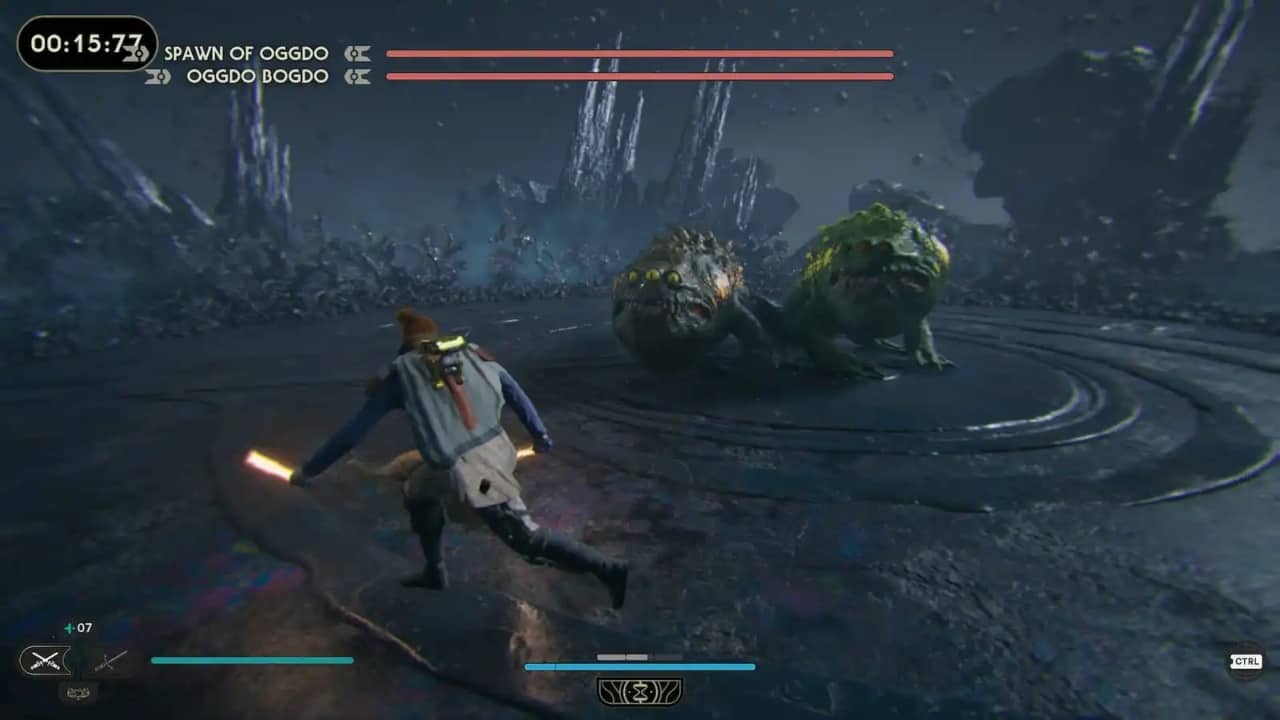
When the beast turns red, you should use Dash or your double jump to avoid being hit by it. It will be silent for a very brief period of time after it attacks and misses, giving you the chance to strike it once or twice.
It sometimes shows redness and tongue protrusion. In these situations, you must prevent the attack because the tongue attack is usually fatal.
3. Stance:
The single-lightsaber stance is amazing due to its default simplicity. Players will be able to generate a big amount of damage on every swing, also an efficient set of blocks and parries. The attacks that are made in between Spawn of Oggdo’s moves will be stronger and faster.
4. Easy Setting:
You can always switch to a lower difficulty setting or even Story Mode to make this boss fight infinitely easier if you’re having trouble.
Also Read: How to Beat Calamity Ganon in The Legend of Zelda: Breath of the Wild? Explained

