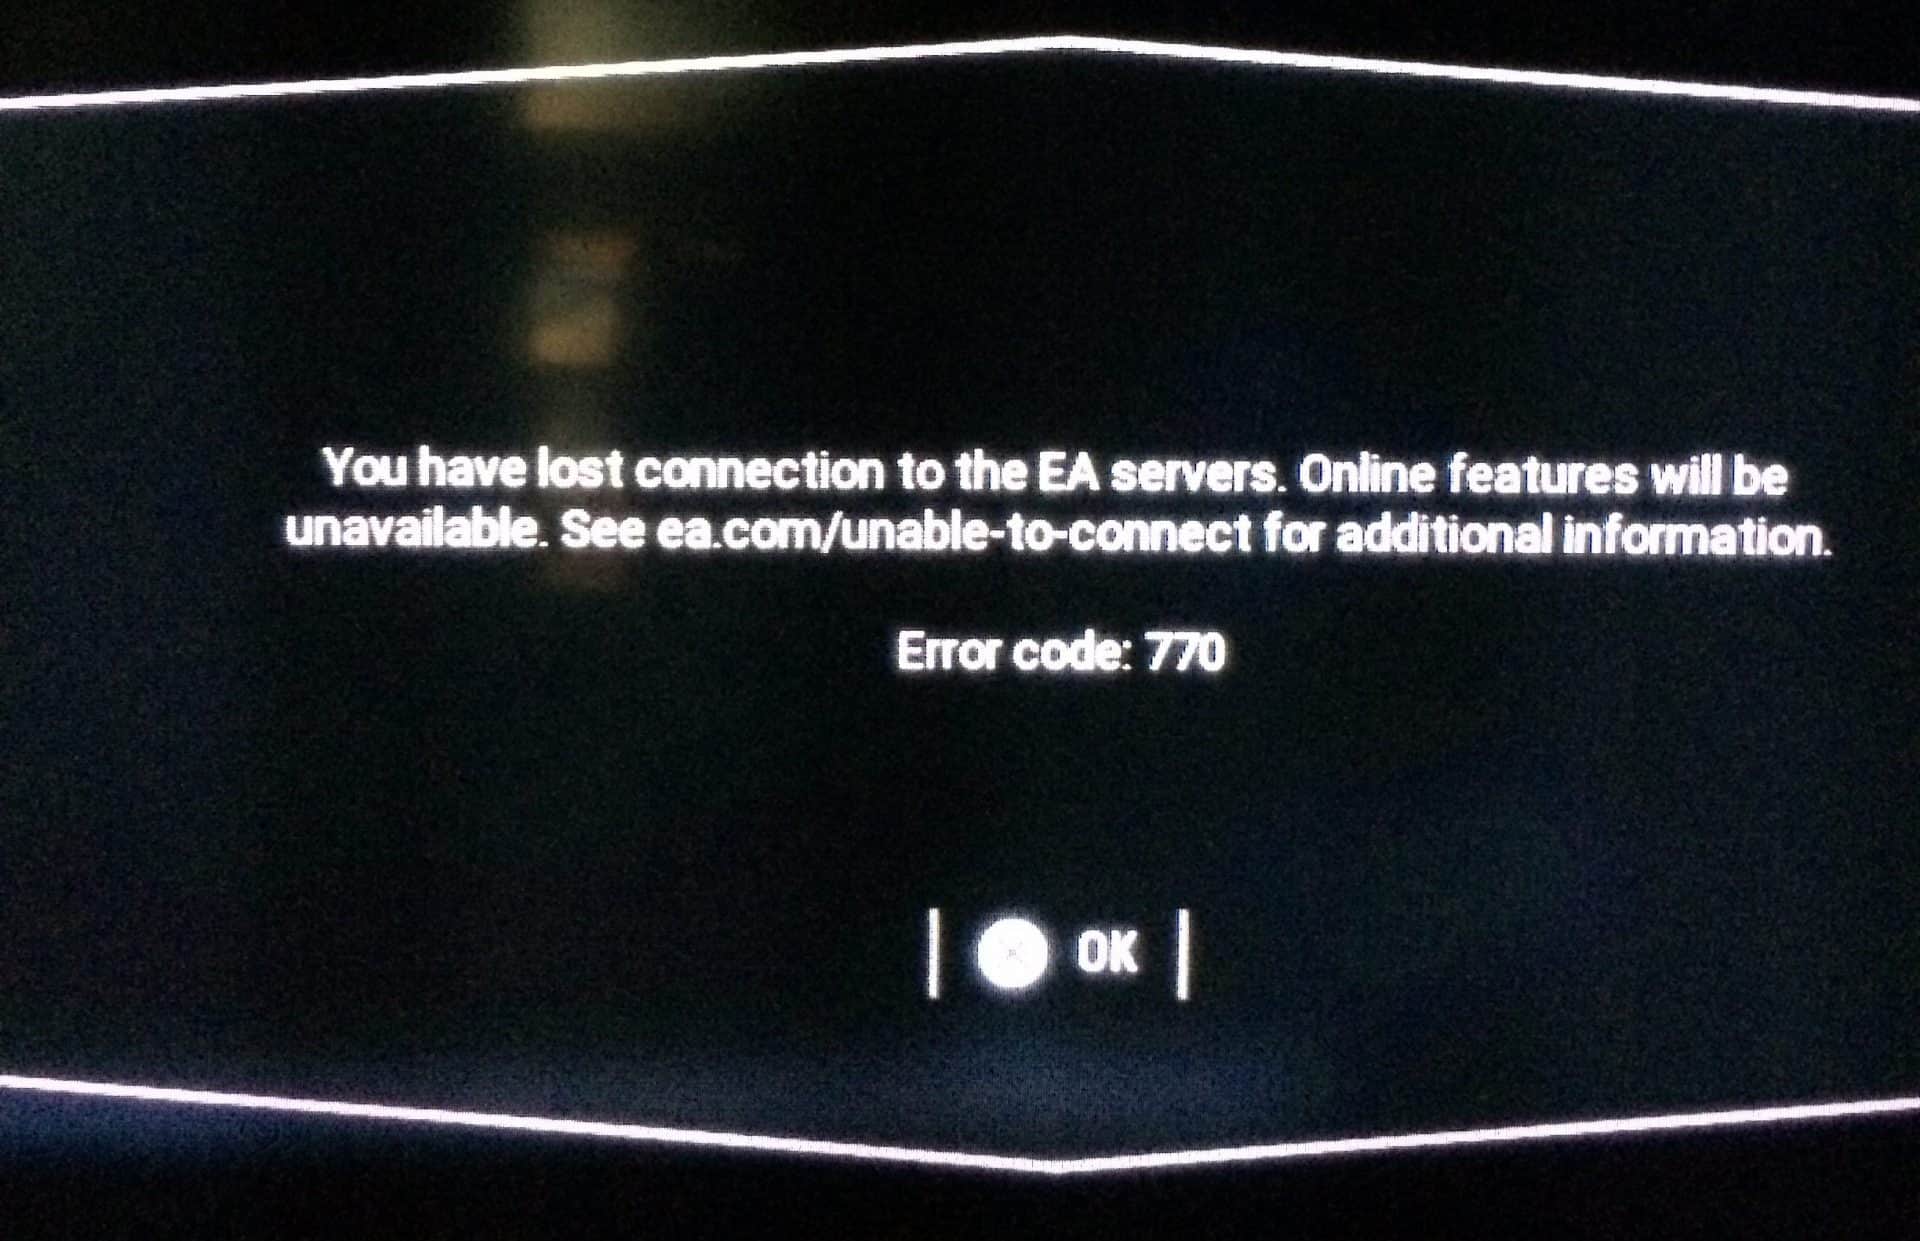
Anyone who has ever played games can agree that it is very annoying when you have to deal with errors when you want to play your favorite game. Even the best of games have errors and developmental issues that players have to face. Battlefront II is no different from this. If you have played Battlefront regularly, you must have encountered the recurring Error code 770.
Star Wars Battlefront II is a first-person shooter video game developed by EA DICE and published by Electronic Arts. It is the fourth main installment of the Star Wars: Battlefront series and a sequel to the 2015 reboot of the series. The game was released for PlayStation 4, Xbox One, and Microsoft Windows on November 17, 2017.
The game features a single-player campaign, which takes place in the 30 years between the destruction of Death Star II and the rise of the First Order. The game also features a multiplayer mode, in which players can play as characters from different eras of the Star Wars universe. The multiplayer mode includes characters, locations, and vehicles from the prequel trilogy, original trilogy, and sequel trilogy eras of the Star Wars universe.

Battlefront II received mixed reviews upon release, with praise for its multiplayer modes and visuals but criticism for its single-player campaign and the implementation of microtransactions, which were later removed by the developer. Despite the controversy, the game has a dedicated player base and continues to receive new content and updates.
What is Error code 770?
Error code 770 in Battlefront 2 is typically caused by a problem with the game’s servers. This can occur for a variety of reasons, such as maintenance or a high volume of players accessing the servers. The best course of action would be to wait a bit and then try accessing the game again. Additionally, you can check the official website or social media for the game for any announcements about server issues.
How to resolve Error Code 770?
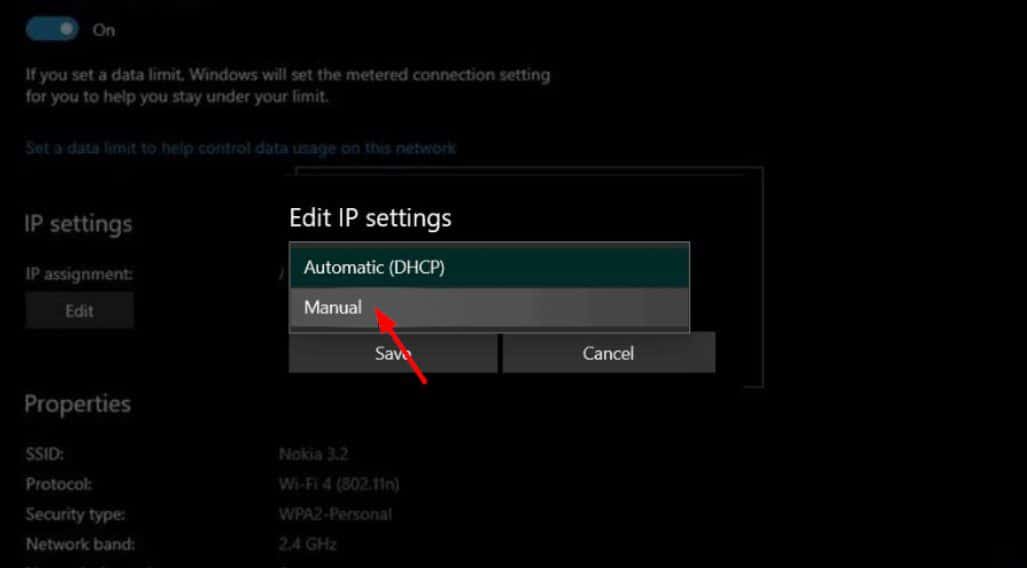
Try Changing to static IP
To change to a static IP address on a Windows PC, you can follow these steps:
- Press the Windows key + X on your keyboard and select “Control Panel” from the menu.
- In the Control Panel, select “Network and Sharing Center”.
- Select the option for “Change adapter settings”.
- Right-click on the network adapter you want to change the IP address for and select “Properties”.
- Select “Internet Protocol Version 4 (TCP/IPv4)” and then click the “Properties” button.
- Select the option for “Use the following IP address” and enter the desired IP address, subnet mask, and default gateway.
- Click “OK” to save the changes.
- Restart the PC

It’s also worth noting that you need to enter the correct IP address, subnet mask, and default gateway for your network. You can check this information with your network administrator or internet service provider.
Keep in mind that the above steps may vary slightly depending on your specific version of Windows. If you are using a different operating system, the process for changing to a static IP address may be different.
Set Up DMZ
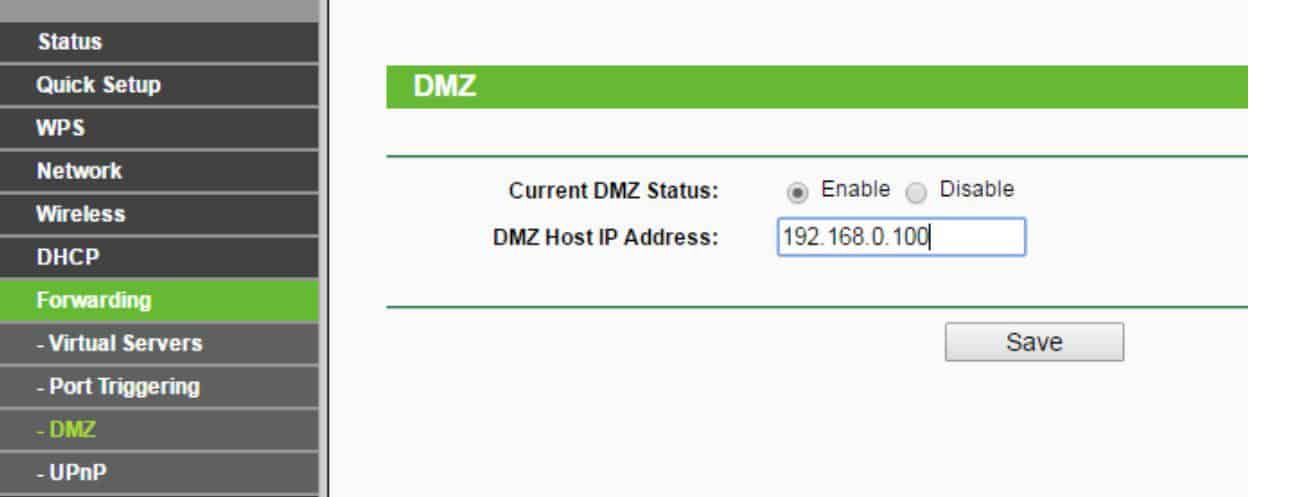
A DMZ (demilitarized zone) is a network security feature that allows you to forward all incoming Internet traffic to a specific device on your network, such as a web server or gaming console. Setting up a DMZ can be useful if you want to host a web server or online game on your network and want to ensure that it is accessible from the Internet.
To set up a DMZ on a router, you will need to access the router’s web interface. The specific steps to do this will vary depending on the router you are using. However, in general, you will need to do the following:
- Connect to your router’s web interface by typing its IP address into a web browser. You can typically find the IP address in the router’s documentation or by searching for it online.
- Log in to the router using the appropriate username and password.
- Navigate to the “Advanced” or “Firewall” section of the router’s web interface.
- Look for an option to enable a DMZ or to forward incoming Internet traffic to a specific IP address.
- Enter the IP address of the device you want to place in the DMZ.
- Save the changes.

It’s important to keep in mind that enabling a DMZ can make your internal network more vulnerable to attacks. It’s a good practice to place a firewall in the device you want to put in the DMZ and keep the router’s firewall enabled.
Also, keep in mind that the above steps may vary depending on your specific router model and firmware version. If you are having trouble setting up a DMZ, consult your router’s documentation or contact the manufacturer for assistance.
If the above methods do not resolve the issue, you can also try the following steps:
- Check the official website or social media for the game for any announcements about server issues. If there are known server issues, you will need to wait for them to be resolved.
- Restart your router and console or PC. This can help to clear up any issues with your internet connection.
- Clear the cache on your console or PC. This can help to clear up any issues with your game files.
- Make sure your game and console or PC are up-to-date with the latest updates and patches.
- Try logging in to the game at a different time, as the servers may be less busy.
If none of the above steps work, you may need to contact EA support for further assistance.
It is worth noting that the error could be caused by server maintenance or high traffic. In that case, the best option will be to wait and try again later.


